Turn Your Postman Collection into a Microsoft Integration
If you’ve ever wanted to automate more pieces of your life, but didn’t have the time or the will to build out a custom app, there’s a powerful tool that will allow you to build a custom integration with minimal development.
Similar to the trigger-based, conditional logic of IFTTT or Zapier, Microsoft Flow is a service that allows you automate workflows with the applications and tools that you’re already using.
Microsoft Flow focuses on enterprise tools and the free service provides rate-limited access to a broad set of services, such as Slack and Intercom. The premium subscription tier provides more bells and whistles and access to a wider set of services, such as Salesforce and Zendesk.
So how does it work? For Postman users, uploading a Postman Collection to Microsoft Flow automatically generates your custom API description. From there, Microsoft Flow allows you to add new actions and conditional logic to automate your personal and professional workflows to sync files, collect data, and receive notifications.
Asavari Tayal, Program Manager at Microsoft, shows us how to create a Microsoft Flow connector from a Postman Collection.
Turn your Postman Collection into a Microsoft integration
by Asavari Tayal, Program Manager at Microsoft
Do you own a Postman Collection for your HTTP APIs? Now you can use this collection to build a ‘Connector’ for Microsoft Flow and Logic Apps.
Microsoft Flow is a cloud-based service that makes it simple to automate common tasks and business processes across your applications and services, such as Office 365, Slack, Dropbox, SalesForce.com, Dynamics 365 and many more.
Azure Logic Apps enables you to build powerful workflows and integration solutions in Azure.
What is a Connector
A connector is a proxy or a wrapper around your API that allows the underlying web app to talk to Flow and Logic Apps. It provides a way for users to connect their own account and leverage a set of pre-built Triggers and Actions for their apps and workflows.
By being a part of our growing connector family (currently at 110+), you can enable your users to automate common tasks and build workflows in combination with other social and business applications. View our current list of connectors here.
How to build a Connector
In this post, we will use the example of the Asana API to demonstrate how to build an Asana Connector starting from a Postman Collection.
You can try this yourself by downloading the postman collection located here.
The first step to build a Connector is to build a Custom API. Think of a Custom API as a private Connector. i.e. – it’s only visible to you and the users you share it with within your tenant.
1. Import your Postman Collection
To get started, head over to the Microsoft Flow website and navigate to the Custom API wizard.
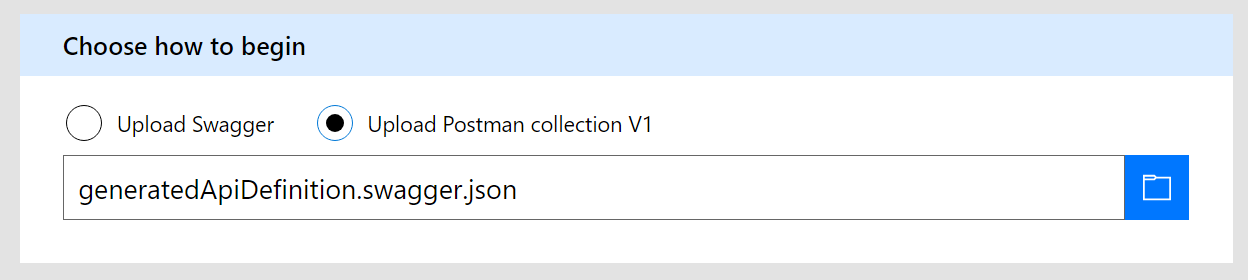
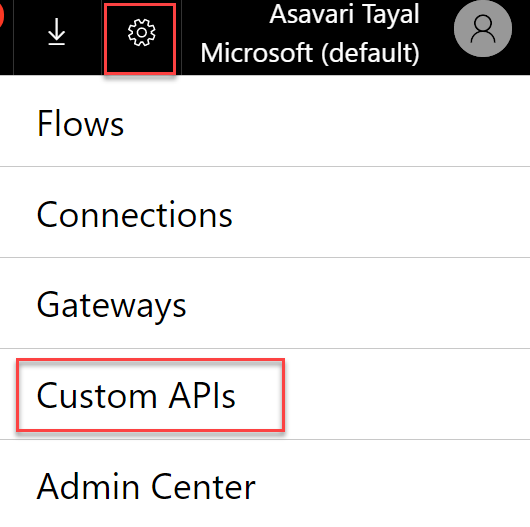 From the Custom API wizard in Flow, select Upload Postman collection V1. Browse to your saved collection and import it.
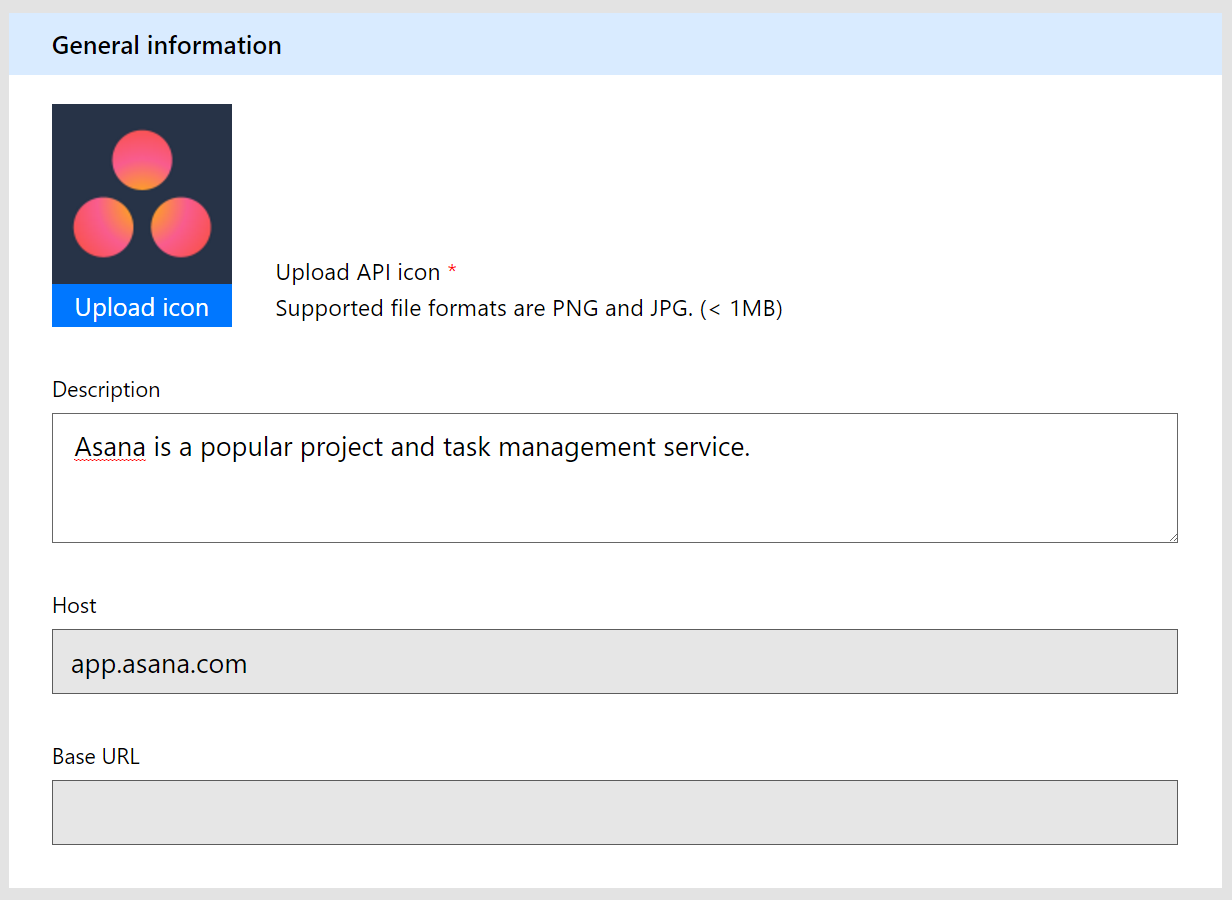
 This collection will get parsed and the schema from your Postman calls will be used to define the metadata for your connector. You can now choose to edit the connector icon and description.
2. Setup authentication
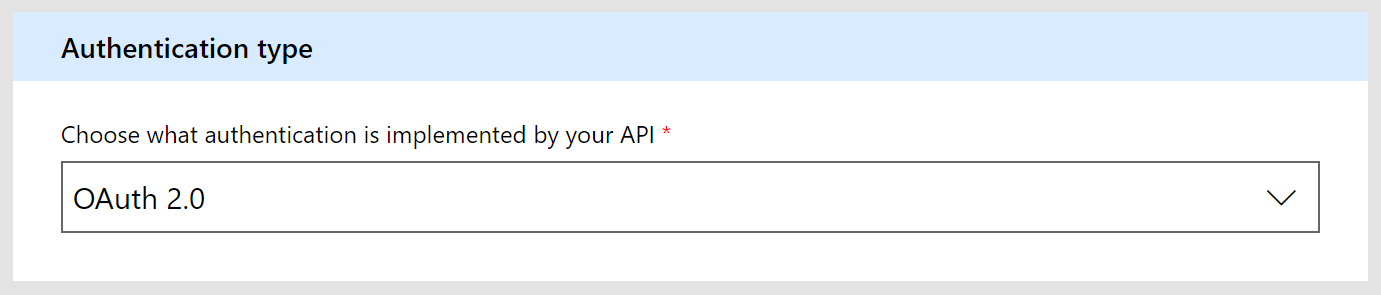
To specify the authentication type, switch to the Security tab and pick OAuth2.0. If you’re using one of the supported authentication types in Postman, this information will be automatically populated.
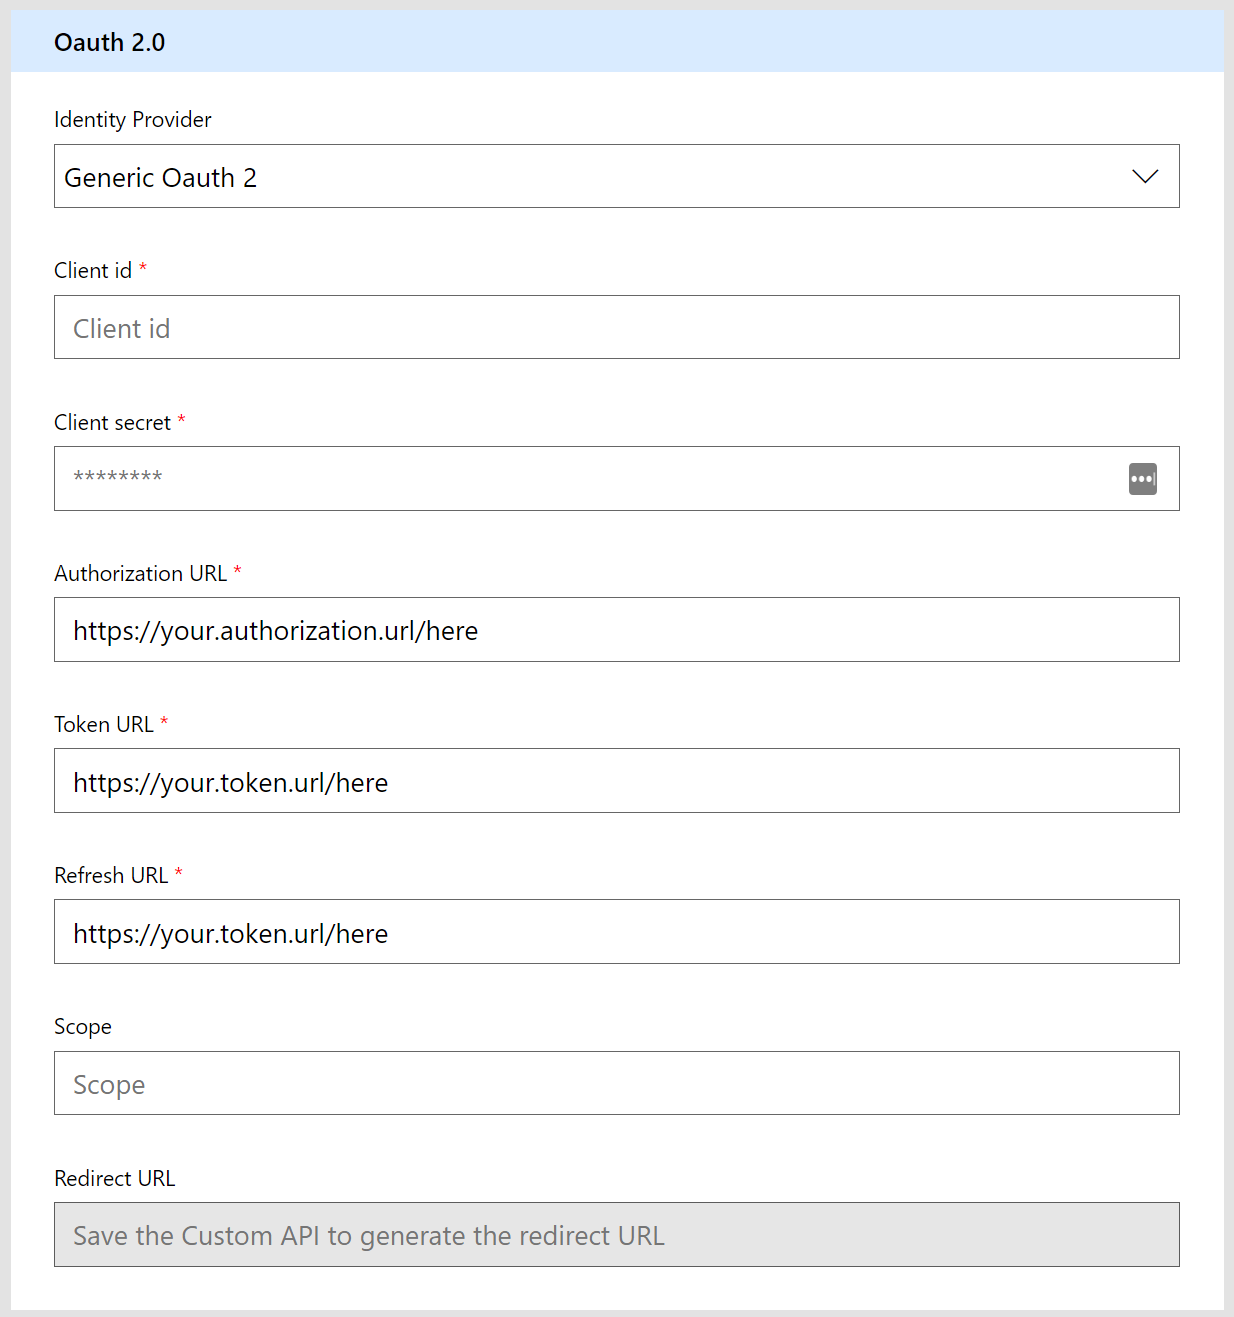
Enter the Client id and Client secret for your OAuth2 app, along with other information to support the authentication flow.
3. Define actions
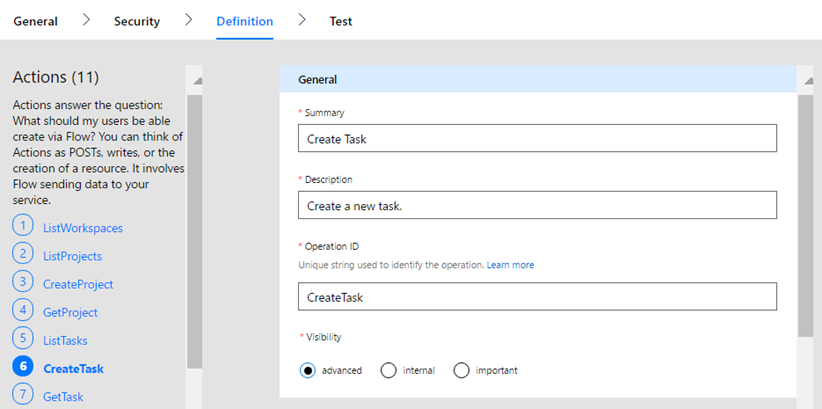
After completing the security information, switch to the Definition tab to view your connector’s operations. Note – These have been pre-populated using the Postman collection you uploaded earlier.
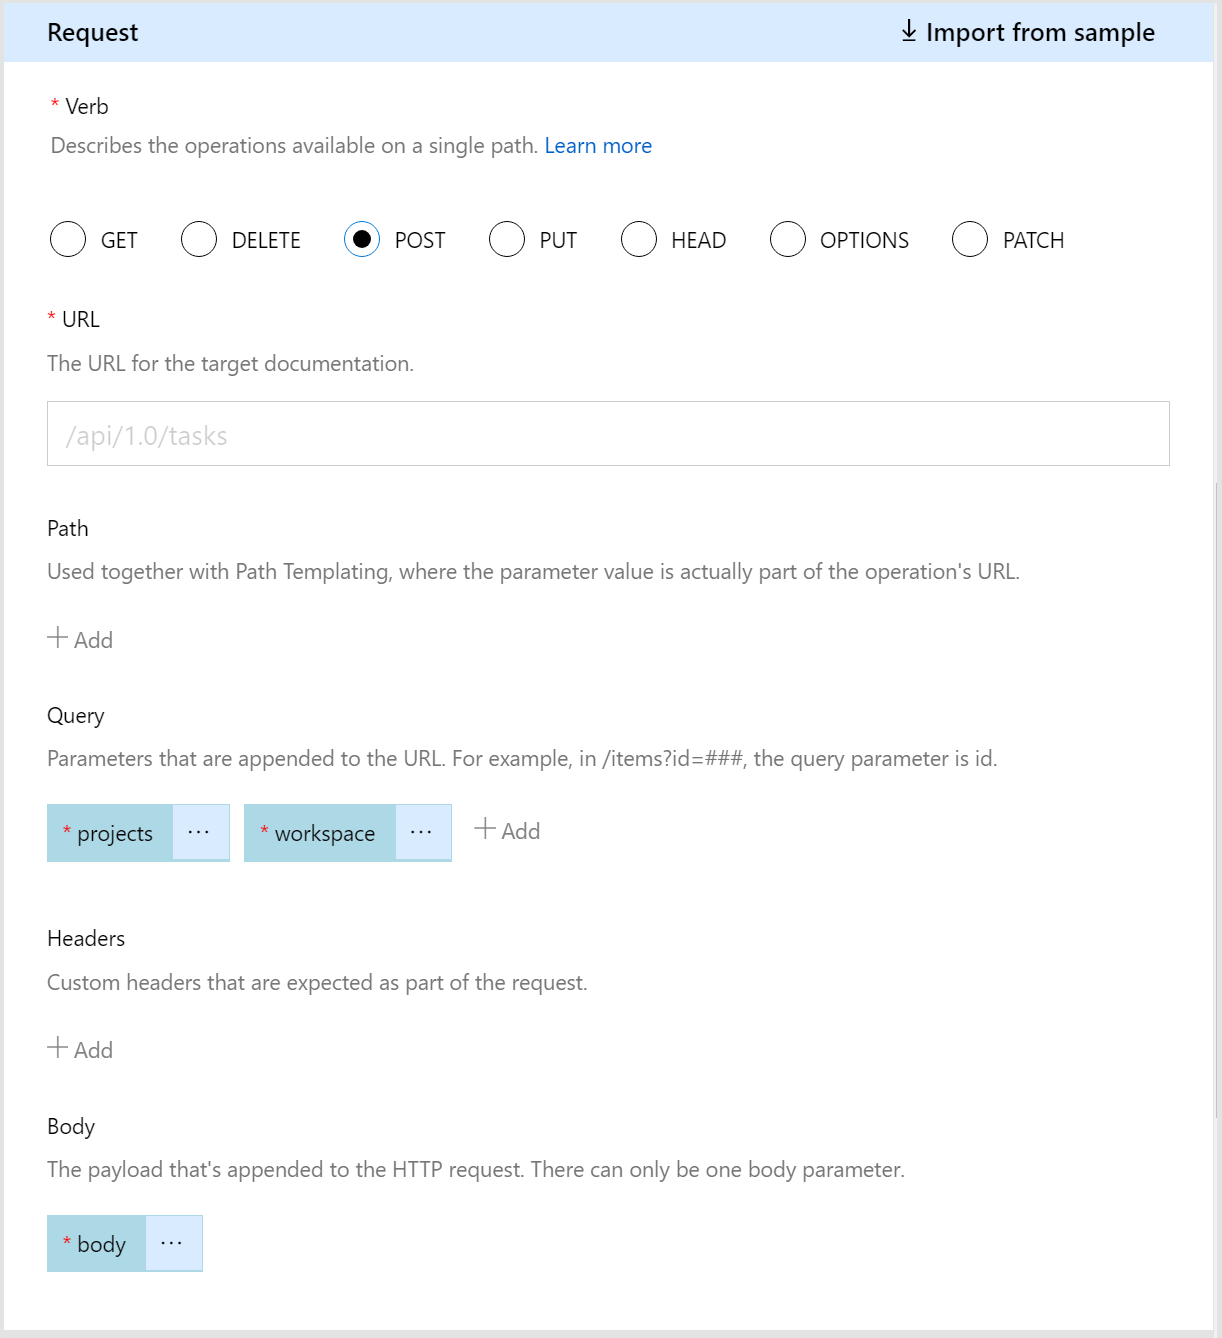
For each operation, you’ll see a Summary, Description, Operation ID and Visibility. These properties are used to modify the end-user experience for your connector. You can change these values at any time.
Besides the UI properties, each operation also includes information about the API call including the HTTP Verb, URL, path and query parameters, header and the body of the request. It also includes a schema for the response expected from the service. In the Asana example, these were auto-generated from your Postman collection.
You can now edit the details of existing actions and even add new actions. For each new action, you will need to provide a sample request and response along with general details about the operation.
Finally, click on Create API in the top right corner to finish creating the Custom API.
Use your connector to build Flows and publish Templates
The operations you defined in the Custom API will now show up as actions in the Flow designer.
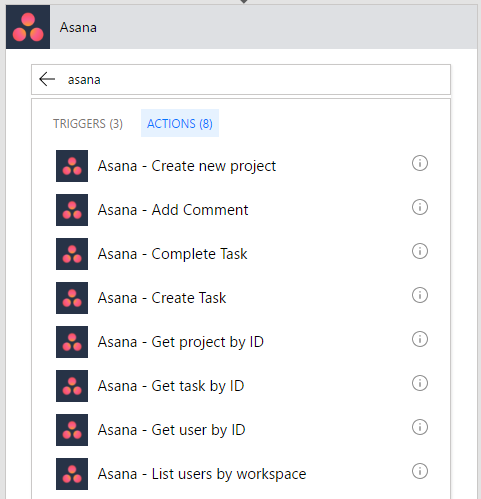
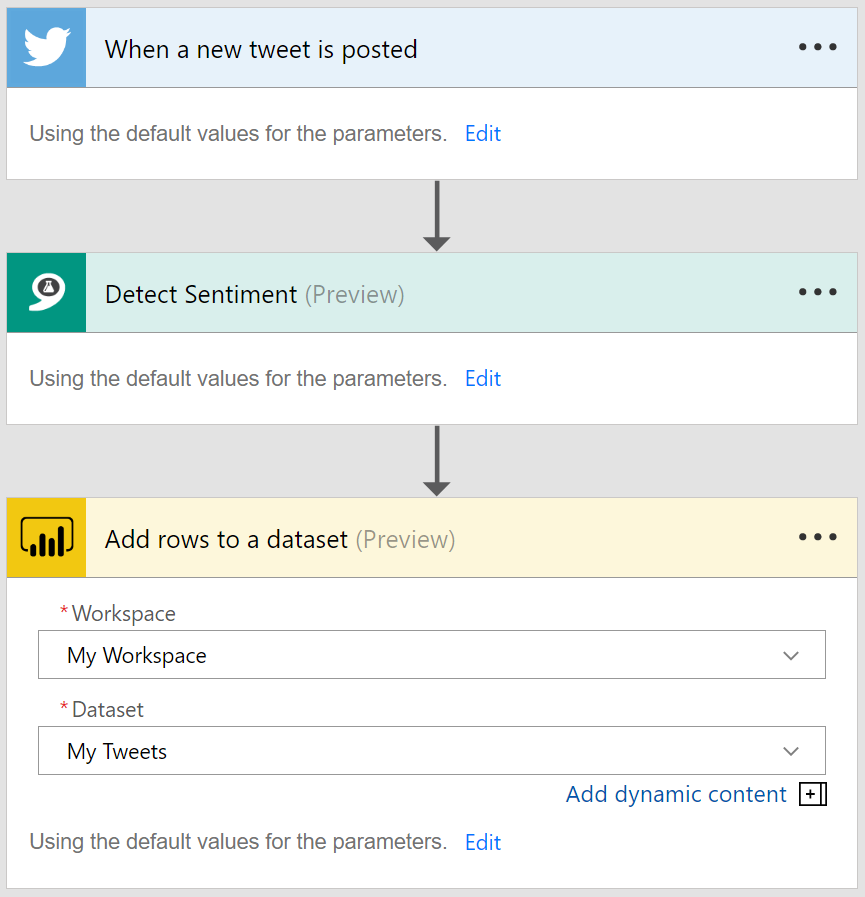
Pick any one of these actions to build a simple workflow like the one shown in the figure below.
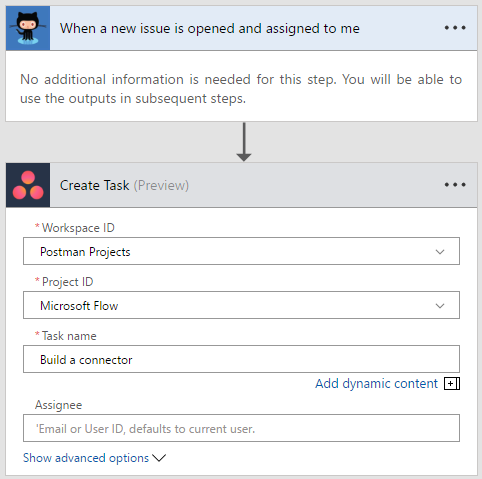
This Flow creates a new task in your Asana account when a new issue is assigned to you in your Github account. Please note that in order to use a connector in Flow, you will need to make a connection to authenticate your account with the underlying service.
To publish the Custom API as a Connector, submit a nomination here. Microsoft will contact you with further details about submitting your connector.
Once your connector has been published, you can create flows and submit templates to the gallery featuring your connector. These templates will be available for all users to directly consume or customize further, by connecting their own accounts.
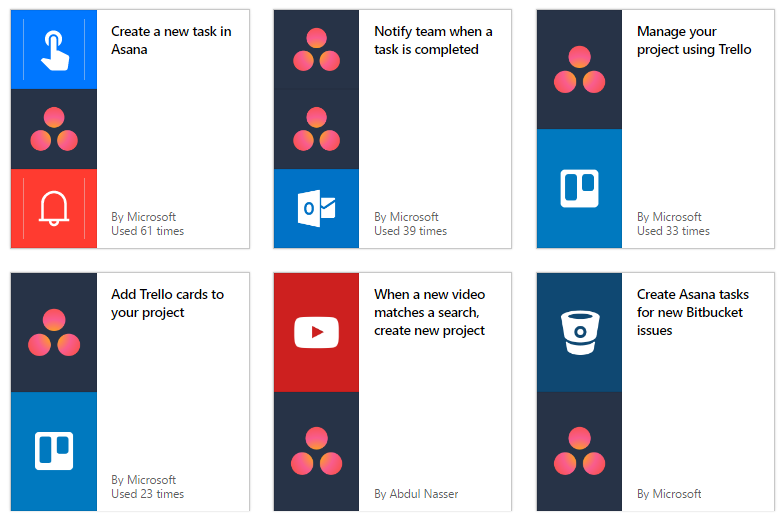
You now have an exciting workflow solution for your users!
For more information, please refer to these articles:
- Calling all SaaS apps: Now you can build your own connector for Flow, Logic Apps and Power Apps
- Create your custom integrations in Microsoft Flow using our new and improved Custom API experience
Tell us how you’re using the Postman x Microsoft Flow integration by tweeting at us at @getpostman and @MicrosoftFlow.
This is a guest post by Asavari Tayal, Program Manager at Microsoft.